Six Non-Destructive Evaluation Technologies at GE Aviation
August 17, 2015
Infrared Thermography – Flash IR
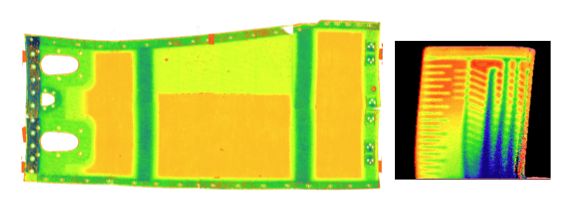
One technique that GE Aviation uses to test advanced composite materials is infrared thermography. Flash thermography uses a high-speed infrared camera to collect millions of temperature measurements in seconds. These flashes create a thermal movie that is evaluated against rigorous requirements set in design. Thermography will detect any internal features and material uniformity and non-conformity, allowing researchers to determine and potential defects in materials.

Ultrasonics (UT)
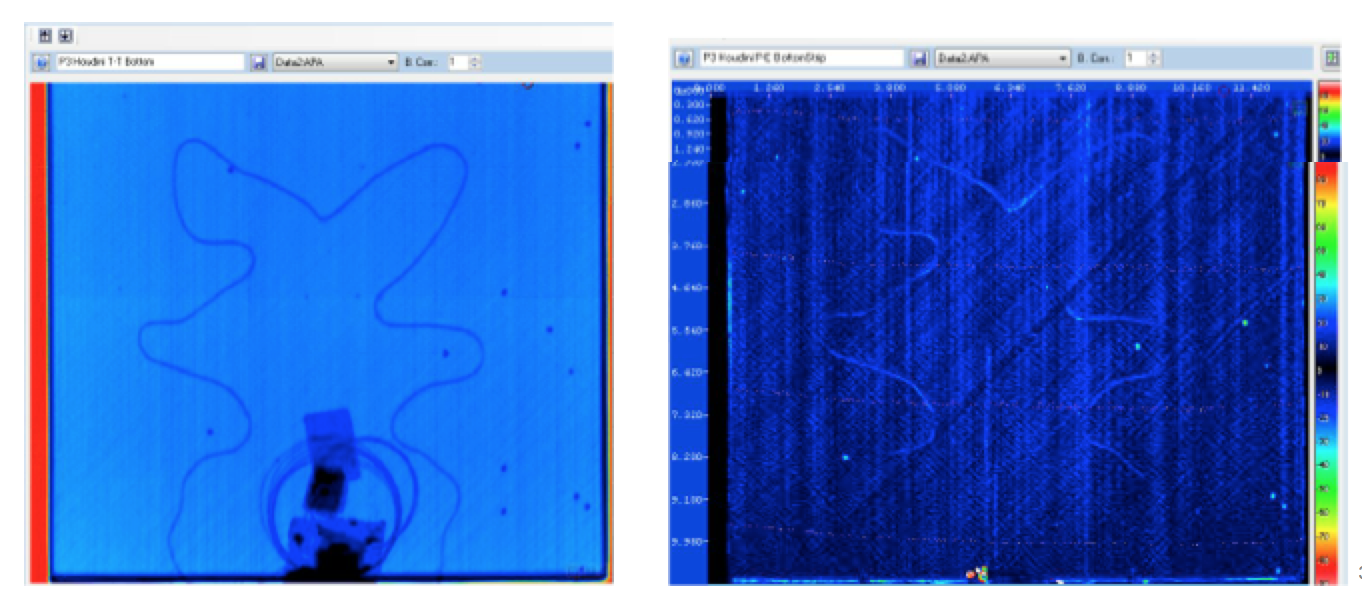
UT uses high-frequency sound to detect subsurface indications. GE Aviation uses this technology to inspect the interior volume of critical engine components made from metals and composites. Sound waves travel through materials with a predictable signal loss unless intercepted by a discontinuity. Any interruptions are evaluated by carefully considered acceptability criteria. The high-resolution ultrasonic lab at QTC supports material engineers with pre- and post-mechanical test inspection feedback and analysis, the efforts of design engineers to determine inspectibility and acceptability criteria for specific parts and manufacturing engineers with inspection plans and standards for development and production hardware.

Automated Robotic Eddy Current Inspection
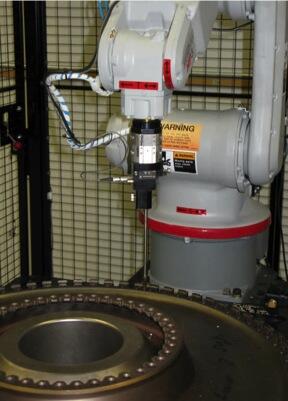
Eddy current uses electromagnetic fields to detect small surface and near-surface indications in electrically conductive materials. GE developed a demonstration of a robot cell to replace manual and semi-automated inspections of HPT and fan disk dovetail slots. This technology provides one system to replace the use of separate inspection kits for each part and provides lower initial investment cost with a focus on increased inspection speed with 4X to 8X faster inspections than other systems on the market.

Assisted Defect Recognition (ADR)
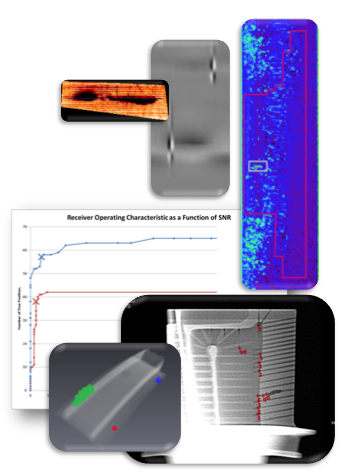
ADR Software algorithms assist in the detection, identification, classification and quantification of anomalies given NDE data as input. ADR programs reduce the cost of component inspection and evaluation as well as improve the quality of the inspection. This software aids with eddy current, ultrasonic bullet, ultrasonic forging, radiographic turbine blade, CT airfoil wall thickness and ultrasonic braze inspection. GE Aviation's current ADR projects include VCT turbine blade and VCT ceramic matrix composite components inspection.

Radiography
Radiography uses X-rays to examine the internal characteristics of engine parts. GE Aviation uses 3D X-ray systems to provide DR and computed tomography inspections with high image quality. New developments in volumetric CT utilize scatter correction to provide high-resolution 3D images with reduced acquisition times.

Dimensional Metrology
Advanced dimensional metrology uses a basic 3-axis coordinate measuring machine with multi axis sensor and rotary part manipulation. Coordinate measurement machines are equipped with both contact and noncontact probes that inspect engine components and find defects. The sensors are able to achieve both tactile probe measurements and optical vision/laser scanning. These probes provide virtually unlimited flexibility in data-gathering capabilities.
Non-destructive evaluation (NDE) is a form of analysis techniques used to evaluate materials and components without causing damage. GE Aviation's facility in Cincinnati continually research and develops a variety of different types of NDE to inspect engine components. Above are six types of NDE GE uses today.